OAuth 2.0
To allow applications to manage individual user data, the Community provides direct support to OAuth2.0, the industry-standard authorization protocol that allows applications to obtain requested access to user accounts over HTTP.
OAuth apps are typically end-user applications which allow secure integration with Community APIs to access authorized data for each user. As a developer, you can use OAuth to allow access to users’ information related to their Community accounts, upon granting permission.
OAuth apps can either be installed and managed across an account by account admins as an account-level app or by end-users individually as a user-managed app.
Create an OAuth 2.0 App
Register Your App
To register your app, visit the https://make.selfcommunity.io and click on the Community Apis option under Integrations in the left menu. Enable Community Apis and Authentcation api if they are disabled.

Go to OAuth 2.0 subpanel and click on 'ADD NEW APP'.
Select Client Type
The first thing you are asked to specify when you want to create an oauth2 app is the Client Type.

The OAuth 2.0 framework specifies several grant types for different use cases. – Grant types
In OAuth 2.0, the term “grant type” refers to the way an application gets an access token. OAuth 2.0 defines several grant types and each grant type is designed for a particular use case, whether that’s a web app, a mobile or desktop app, or server-to-server applications. Community Authentication supports three types of grants:
- Authorization-code
- Implicit
- Password
Authorization Code
The Authorization Code grant type is used by confidential and public clients to exchange an authorization code for an access token. After the user returns to the client via the redirect URL, the application will get the authorization code from the URL and use it to request an access token.
Implicit
The Implicit flow was a simplified OAuth flow previously recommended for native apps and JavaScript apps where the access token was returned immediately without an extra authorization code exchange step. It is not recommended to use the implicit flow (and some servers prohibit this flow entirely) due to the inherent risks of returning access tokens in an HTTP redirect without any confirmation that it has been received by the client. Public clients such as native apps and JavaScript apps should now use the authorization code flow.
Password
The Password grant type is a way to exchange a user's credentials for an access token. Because the client application has to collect the user's password and send it to the authorization server, it is not recommended that this grant be used at all anymore. This flow provides no mechanism for things like multifactor authentication or delegated accounts, so is quite limiting in practice.
Enter basic app information
Provide app related information and get client credentials The windows that follow will ask you to provide a series of information.
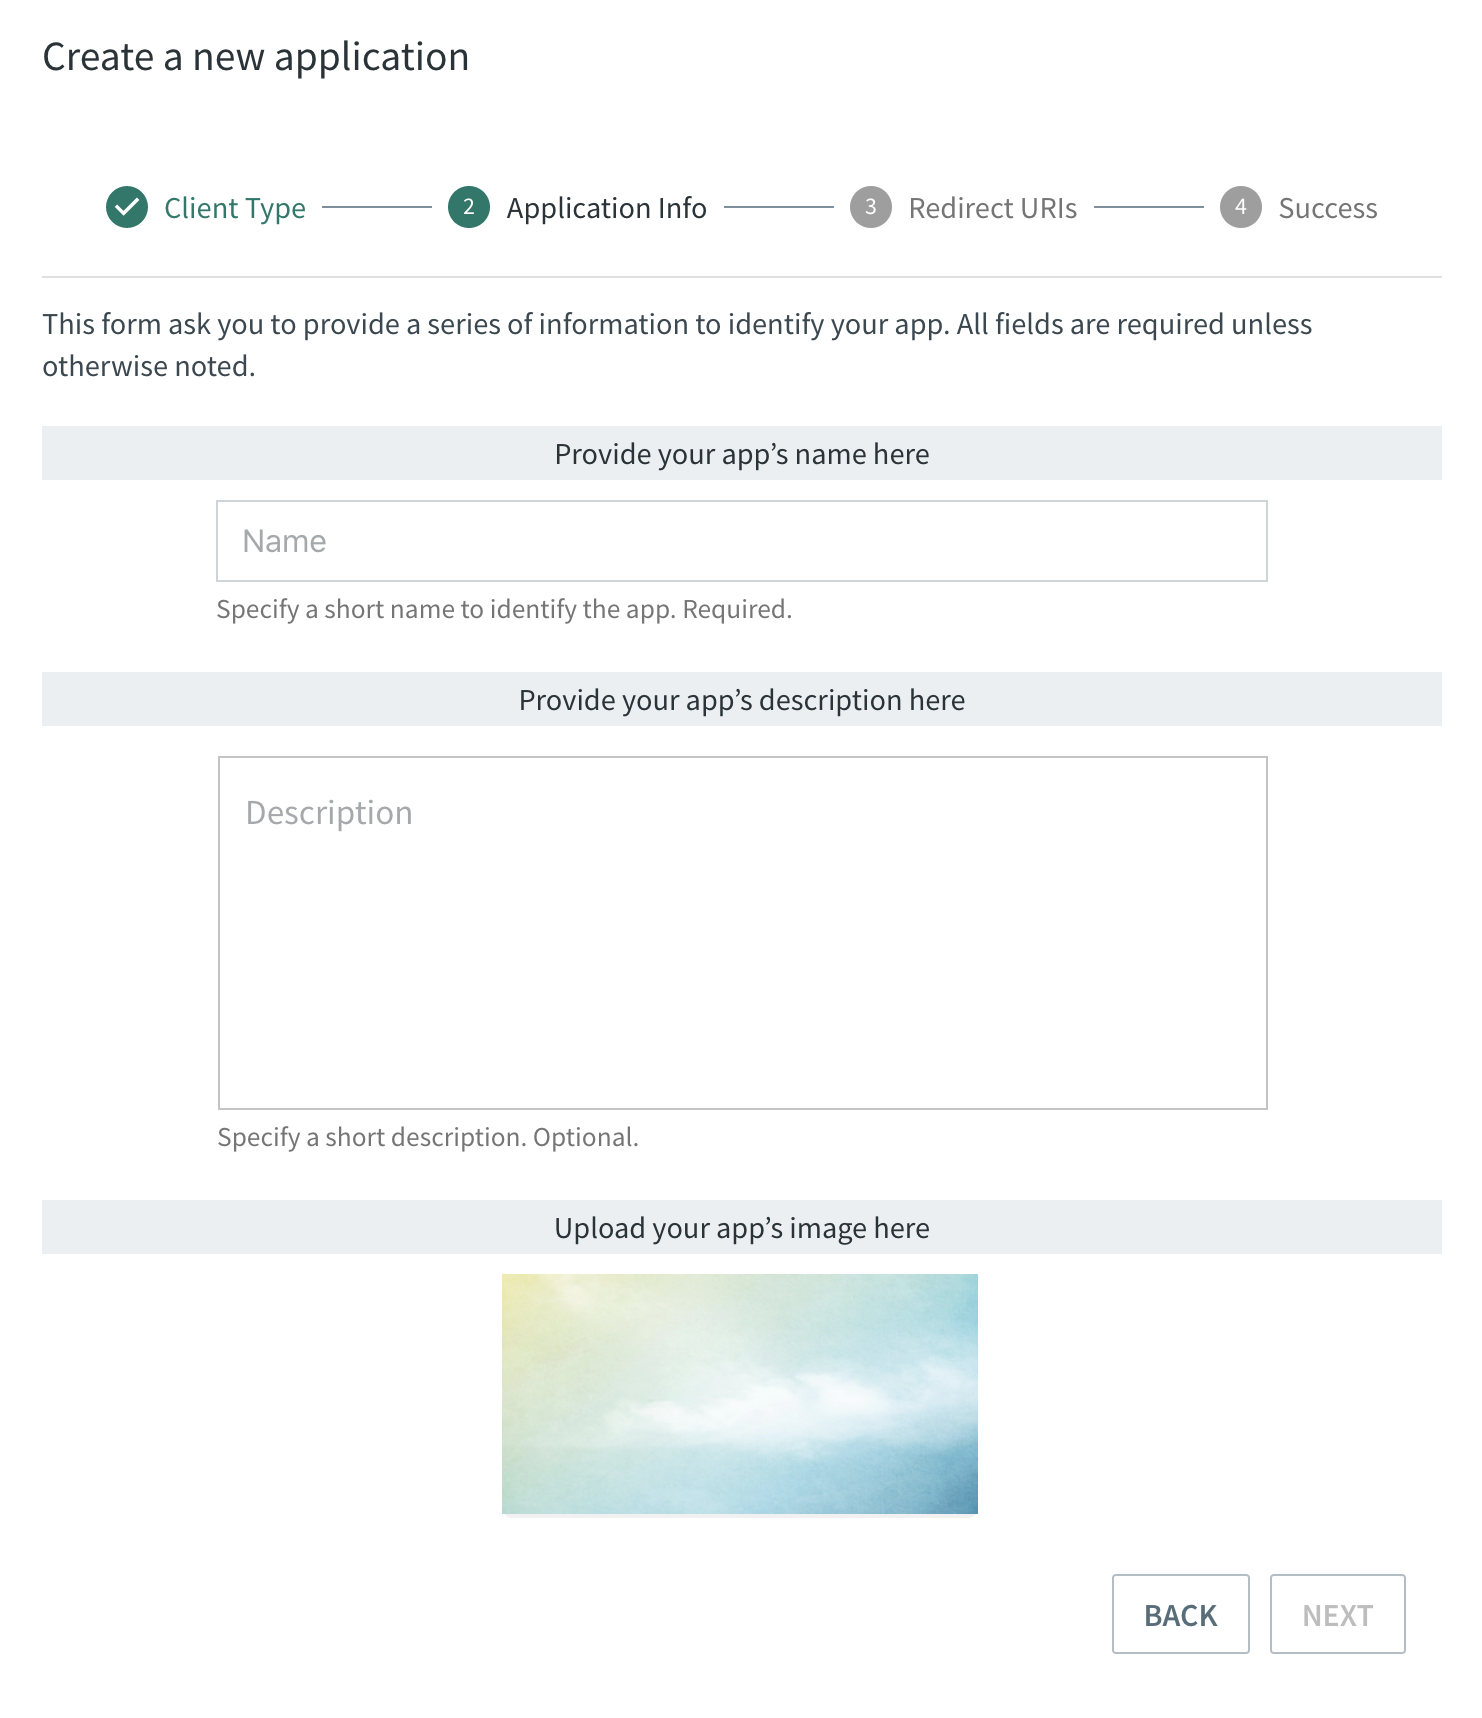
Only the application name is required unless otherwise noted. Descriptions of each field are provided below:
-
App Name: provide your app’s name here. The name is not unique, but it is required. Max 255 characters.
-
App Description: description of the app. It is optionals. Max 255 characters. It will only appear during the OAuth 2.0 flow on the authorization page.
-
App Image: image representing the app. It is optionals. If not present, a default image will be shown. It will only appear during the OAuth 2.0 flow on the authorization page.
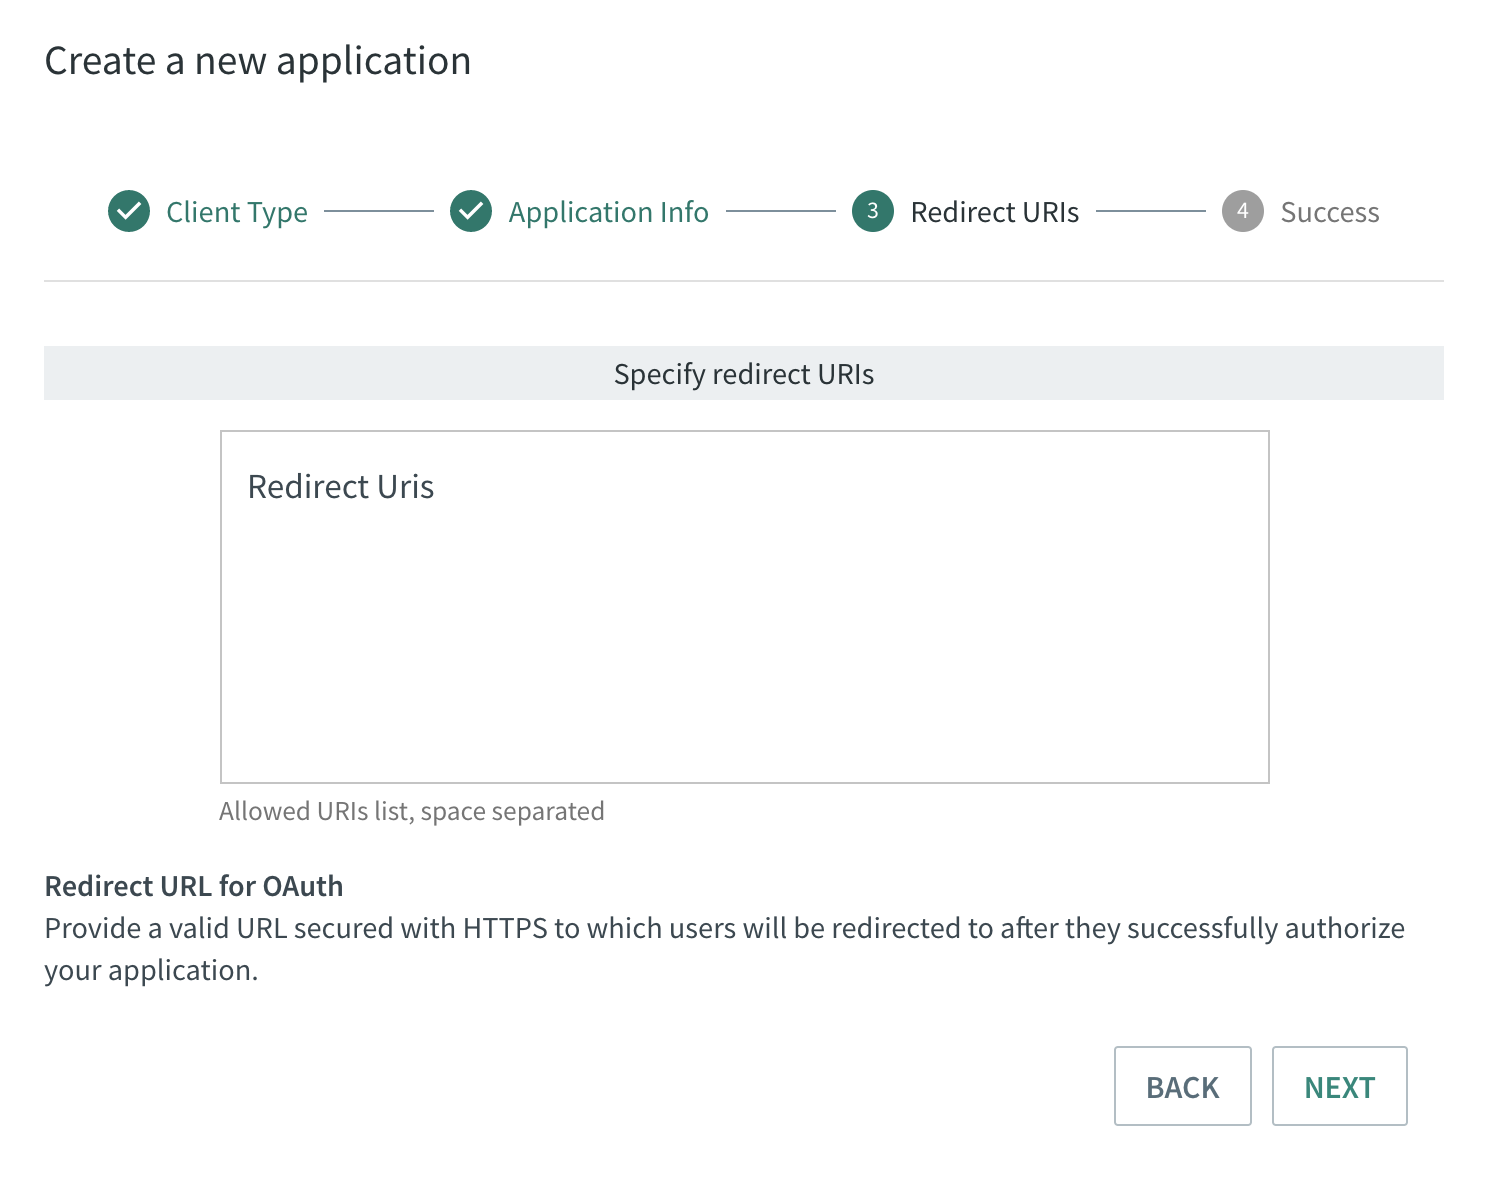
Set Redirect URIs (not required if app grant type is password)
Redirect URIs are a critical part of the OAuth flow. After a user successfully authorizes an application, the authorization server will redirect the user back to the application with either an authorization code or access token in the URL. Because the redirect URL will contain sensitive information, it is critical that the service doesn’t redirect the user to arbitrary locations.
The best way to ensure the user will only be directed to appropriate locations is to require to register one or more redirect URLs when they create the application.
Redirect URIs are required only for client of grant type authorization-flow. You can enter a list of URIs, space separated. Redirect URIs determines where the API server redirects the user after the user completes the authorization flow. The value must exactly match one of the authorized redirect URIs for the OAuth 2.0 client, which you configured in your app. If this value doesn't match an authorized redirect URI for the provided client_id you will get a redirect_uri_mismatch error.
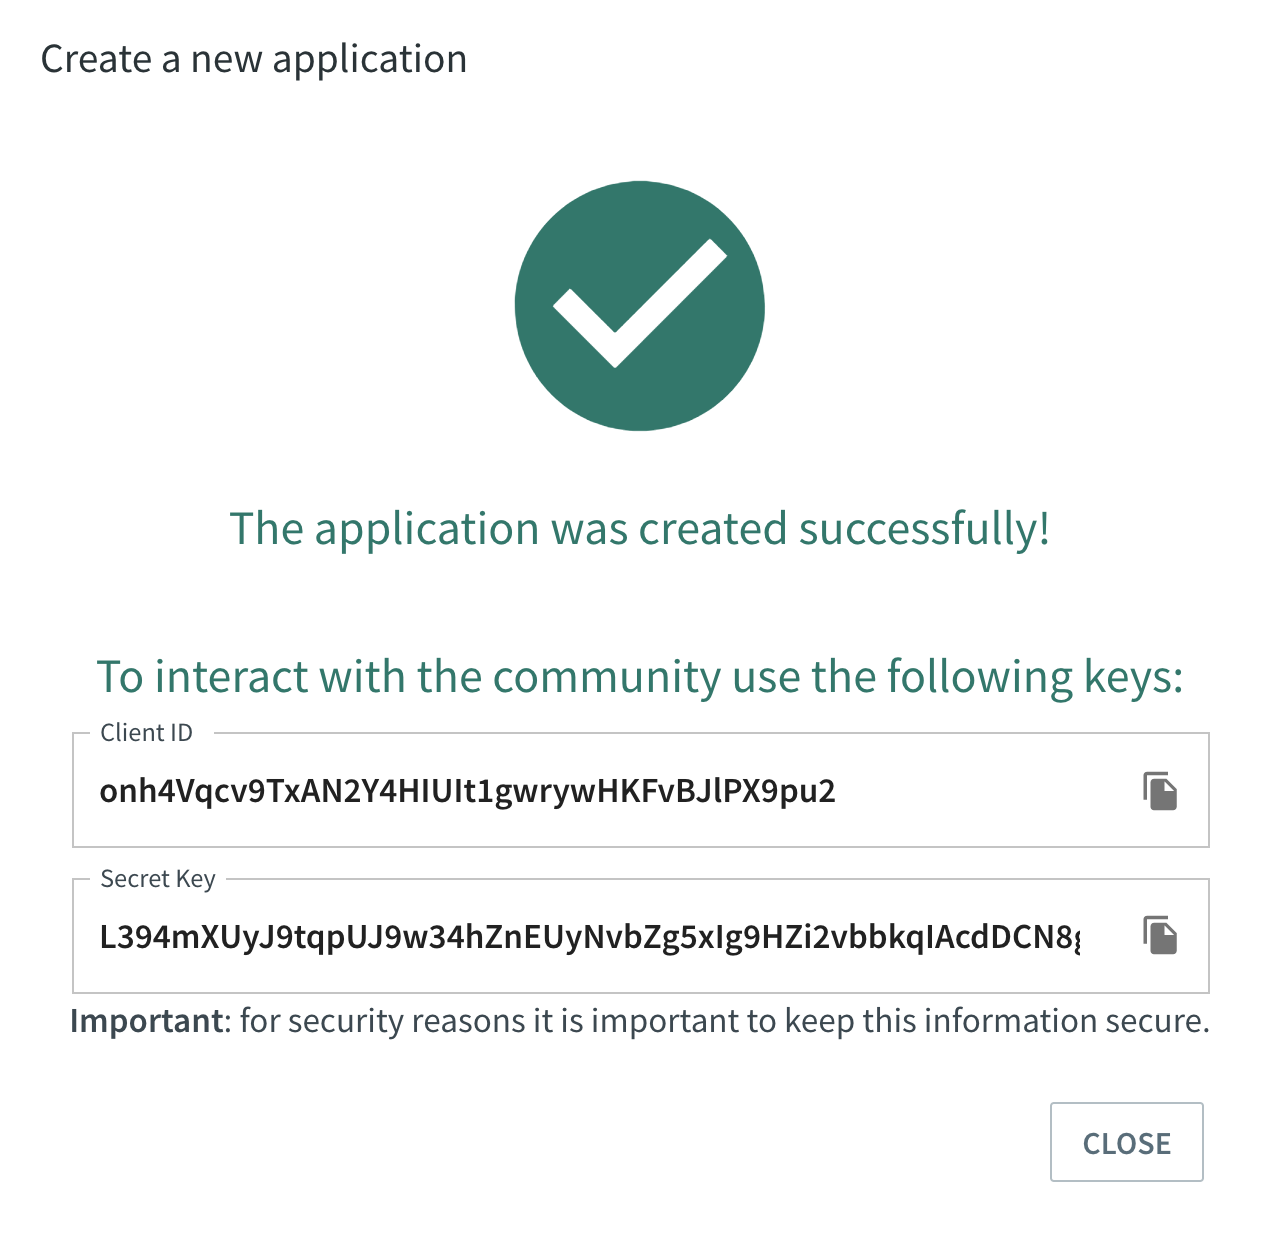
Submission
After you provide the information mentioned above, app credentials (Client ID/Secret Key) will be automatically generated for your app.
Testing OAuth 2.0 App
Getting an Access Token
Depending on the type of client type for there are different ways to get a token.
For the following examples let's assume we have created an app with the following credentials:
- client_id: vW1RcAl7Mb0d5gyHNQIAcH110lWoOW2BmWJIero8
- secret_key: DZFpuNjRdt5xUEzxXovAp40bU3lQvoMvF3awEStn61RXWE0Ses4RgzHWKJKTvUCHfRkhcBi3ebsEfSjfEO96vo2Sh6pZlxJ6f7KcUbhvqMMPoVxRwv4vfdWEoWMGPeIO
- redirect URIs: https://127.0.0.1:8000/callback
Authorization Code
To start the Authorization code flow got to this URL with is the same as show bellow:
https://<community_hostname>/oauth/authorize/?response_type=code&client_id=vW1RcAl7Mb0d5gyHNQIAcH110lWoOW2BmWJIero8&redirect_uri=https://127.0.0.1:8000/callback
Note the parameters we pass:
- response_type: code
- client_id: vW1RcAl7Mb0d5gyHNQIAcH110lWoOW2BmWJIero8
- redirect_uri: https://127.0.0.1:8000/callback
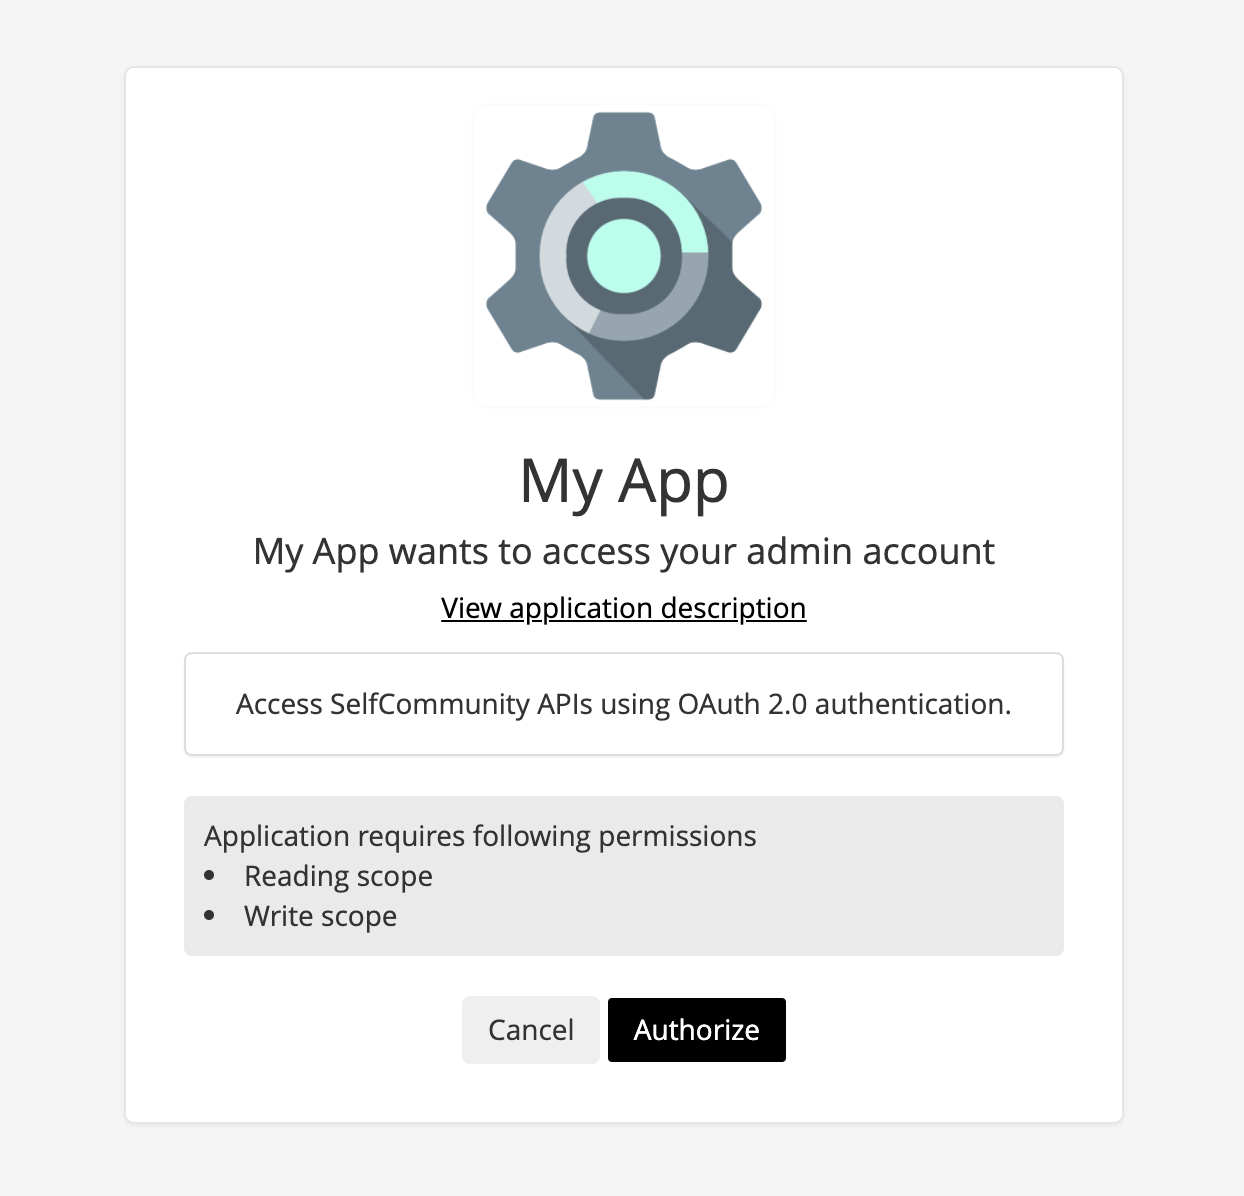
This identifies the application, the user is asked to authorize your application to access its resources.
Remember we used https://127.0.0.1:8000/callback as redirect_uri you will get a Page not found (404) but it worked if you get a url like:
https://127.0.0.1:8000/callback?code=uVqLxiHDKIirldDZQfSnDsmYW1Abj2
This is the OAuth2 provider trying to give you a code, in this case uVqLxiHDKIirldDZQfSnDsmYW1Abj2.
Now that you have the user authorization is time to get an access token:
curl -X POST
    -H "Cache-Control: no-cache"
    -H "Content-Type: application/x-www-form-urlencoded"
    "https://<community_hostname>/oauth/token/"
    -d "client_id=${ID}"
    -d "client_secret=${SECRET}"
    -d "code=${CODE}"
    -d "redirect_uri=https://127.0.0.1:8000/callback"
    -d "grant_type=authorization_code"
The OAuth2 provider will return the follow response:
{
  "access_token": "jooqrnOrNa0BrNWlg68u9sl6SkdFZg",
  "expires_in": 36000,
  "token_type": "Bearer",
  "scope": "read write",
  "refresh_token": "HNvDQjjsnvDySaK0miwG4lttJEl9yD"
}
To access the user resources we just use the access_token.
Set the HTTP Authorization header as Bearer to access the protected resources as in the example below:
curl -H "Authorization: Bearer jooqrnOrNa0BrNWlg68u9sl6SkdFZg" -X GET https://<community_hostname>/api/v2/<resource>
Implicit
To start the Implicit flow got to this URL with is the same as show below:
https://<community_hostname>/oauth/authorize?client_id=vW1RcAl7Mb0d5gyHNQIAcH110lWoOW2BmWJIero8&redirect_uri=https://127.0.0.1:8000/callback&response_type=token
This identifies the application, the user is asked to authorize your application to access its resources as in the authorize-code flow. After the user has granted the authorization, the server responds with a redirect to redirect_uri. The only difference, respect to the authorization-code flow, is that in this case the access token will appear in the url fragment of the redirect_uri.
https://127.0.0.1:8000/callback#access_token=uPYzDyan1nJfqRulCG6pMuCT6pwbpN&expires_in=36000&token_type=Bearer&scope=read+write
# fragment values
access_token=uPYzDyan1nJfqRulCG6pMuCT6pwbpN
expires_in=36000
token_type=Bearer
scope=read+write
In this case, a refresh token will not be issued. This flow is ideal for accessing the community APIs from a client.
Password
The Password grant is one of the simplest OAuth grants and involves only one step: the application presents a traditional username and password login form to collect the user’s credentials and makes a POST request to the server to exchange the password for an access token. The POST request that the application makes looks like the example below.
curl -X POST
    -H "Cache-Control: no-cache"
    -H "Content-Type: application/x-www-form-urlencoded"
    "https://<community_hostname>/oauth/token/"
    -d "client_id=${ID}"
    -d "username=${username}"
    -d "password=${password}"
    -d "grant_type=password"
To start the Password Credential flow you call /token/ endpoint direct:
curl -X POST -H "Cache-Control: no-cache" -H "Content-Type: application/x-www-form-urlencoded" "https://<community_hostname>/oauth/token/" -d "grant_type=password"
The POST parameters in this request are explained below.
- grant_type=password - This tells the server we’re using the Password grant type
- username= - The user’s username that they entered in the application
- password= - The user’s password that they entered in the application
- client_id= - The public identifier of the application that the developer obtained during registration
The server replies with an access token in the same format as the other grant types.
{
  "access_token": "jooqrnOrNa0BrNWlg68u9sl6SkdFZg",
  "expires_in": 36000,
  "token_type": "Bearer",
  "scope": "read write",
  "refresh_token": "HNvDQjjsnvDySaK0miwG4lttJEl9yD"
}
Using an Access Token
Regardless of which grant type you used, if you have an OAuth 2.0 Bearer Token you can use with the authenticated API.
Set the HTTP Authorization header as Bearer <TOKEN> to access the protected resources as in the example below:
curl -H "Authorization: Bearer jooqrnOrNa0BrNWlg68u9sl6SkdFZg"
    -X GET https://<community_hostname>/api/v2/<resource>
Refreshing an Access Token
A refresh request from a public client would omit that secret, and take the form:
curl -X POST
    -H "Cache-Control: no-cache"
    -H "Content-Type: application/x-www-form-urlencoded"
    "https://<community_hostname>/oauth/token/"
    -d "client_id=${ID}"
    -d "refresh_token=${REFRESH_TOKEN}"
    -d "grant_type=refresh_token"
The server will respond wih a 200 status code on successful refresh.
Revoking an Access Token
A revoke request from a public client would omit that secret, and take the form:
curl -X POST
    -H "Cache-Control: no-cache"
    -H "Content-Type: application/x-www-form-urlencoded"
    "https://<community_hostname>/oauth/revoke_token/"
    -d "client_id=${ID}"
    -d "token=${TOKEN}"
The server will respond wih a 200 status code on successful revocation.